How to Apply Thermal Paste to Your CPU: Expert Tips & Guide
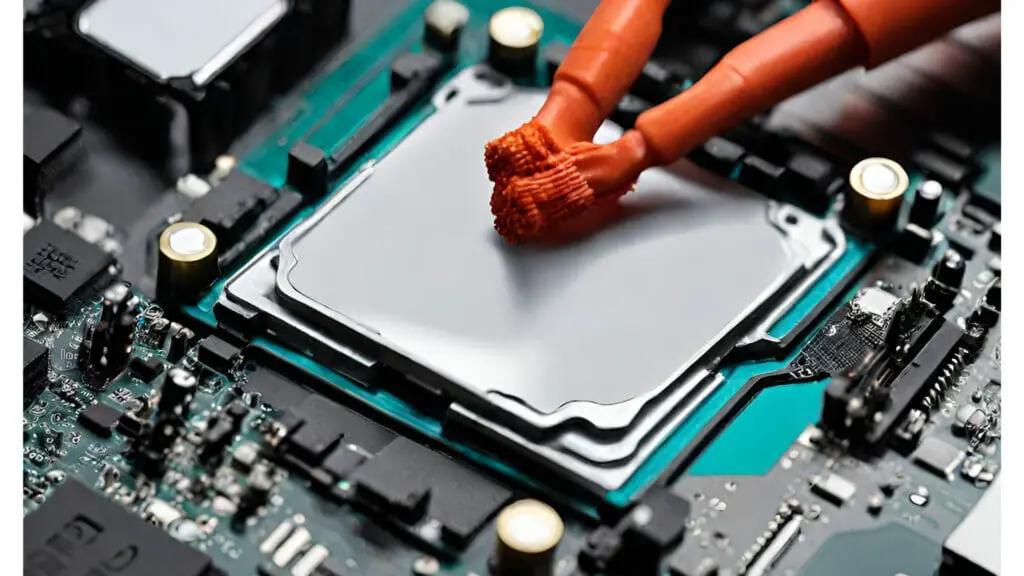
We experimented using three varying quantities of thermal paste on a CPU with dimensions of 3cm x 3cm to determine the optimal volume. Our findings revealed that a CPU with a 3cm x 3cm cooling surface reaches peak performance with an application of 0.2 ml of thermal paste.
Assembling a PC or enhancing its parts involves crucial steps, including accurately applying thermal paste to the CPU. The paste volume used can significantly influence the CPU’s temperature and resulting performance.
Let this guide navigate you through the precise amount of thermal paste needed to ensure your CPU operates at its best.
Essentials for Correct Thermal Paste Application on Your CPU
For a seamless walkthrough of this guide, ensure you have:
- Your choice of thermal paste
- Isopropyl alcohol
- A lint-free cloth or tissue
- A spreader tool (a spatula or even a credit card will do)
Alternative Options:
There’s a variety of thermal pastes in the market: ceramic, silicone, and metal-based, to name a few. Our expert suggestion leans towards top-tier ceramic or metal-based thermal compounds for peak performance.
Determining the Ideal Quantity of Thermal Paste for Your CPU Cooling Setup
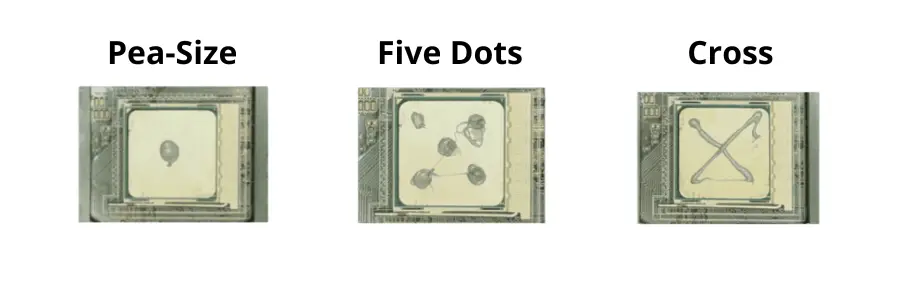
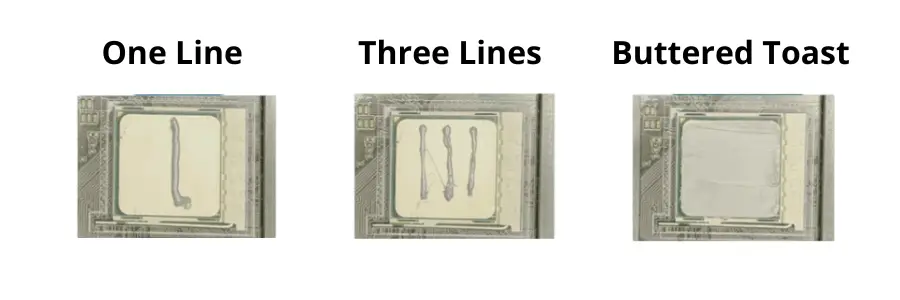
A delicate balance in applying thermal paste is essential to achieve superior cooling efficiency for your CPU. The goal is to lay down a slender layer, uniformly covering the CPU’s surface. This paste is a filler for the minuscule imperfections between the CPU and its corresponding heatsink, facilitating optimal heat conduction.
Overdoing the paste application can backfire, forming air traps which act counterproductively as thermal insulators, diminishing the efficacy of heat transfer. Excessive paste can also ooze out, leading to untidy spillage around the CPU.
Thus, a modest dab, comparable to a rice grain or a pea’s size, centred on the CPU is recommended. As you mount the heatsink, it exerts pressure, spreading the paste evenly. This ensures a thin film for impeccable heat conduction and top-tier cooling results.
The Significance of Precision in Thermal Paste Application
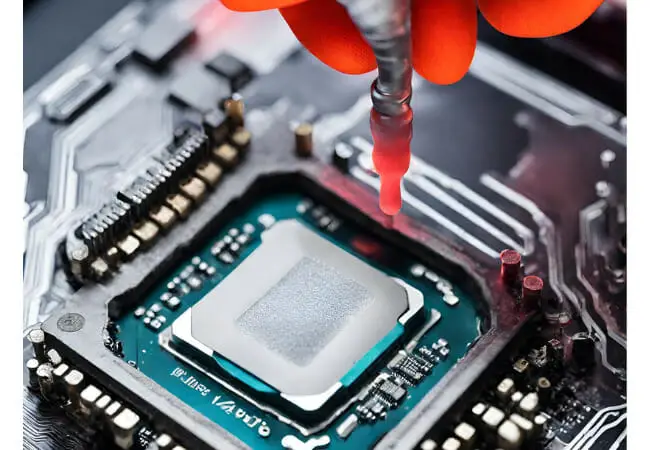
The optimal application of thermal paste offers a myriad of benefits to both computers and other electronic gadgets. Acting as a thermal conduit, this compound bridges the gap between the processor or other electronic parts and the heatsink, ensuring efficient heat dissipation and maintaining your device’s coolness.
Over-application of the compound risks insulating the processor, hampering effective heat dispersion. This could lead to a spike in device temperature, potentially harming the processor.
Conversely, under-application may compromise the thermal connectivity, leaving the device susceptible to overheating.
Striking the right balance in thermal paste application not only ensures optimal heat distribution but also elevates your device’s overall performance and longevity.
Always heed the manufacturer’s directions or industry best practices when applying thermal paste for best results. This guarantees an apt amount is used and that it’s administered accurately.
Step-by-Step Guide: How Much Thermal Paste Should Be Applied To A CPU?
Clean the CPU
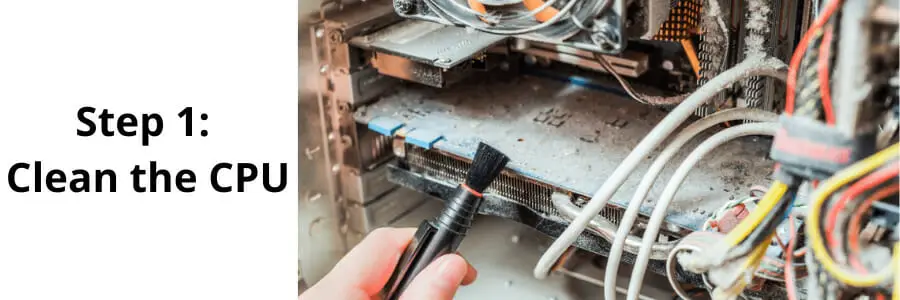
1. Power Off and Safety Precautions: Before starting, ensure the computer or device is powered off and unplugged. It’s always safer to work in a static-free environment. Consider wearing an anti-static wrist strap to prevent static discharge that might damage your components.
2. Gently Remove Old Paste (if applicable): If you’re reapplying thermal paste or replacing a CPU cooler, you must first remove the old compound. Gently wipe away most of the old paste using a soft, lint-free cloth or tissue.
3. Use Isopropyl Alcohol for a Thorough Clean: Dampen another lint-free cloth or tissue with a bit of isopropyl alcohol (preferably 90% or higher). Gently rub the CPU’s surface to remove any remnants of old paste. The alcohol will help dissolve the compound and clean the surface effectively.
4. Let the CPU Dry: Ensure the CPU’s surface is dry before applying the new thermal paste. The alcohol usually evaporates quickly, but a few minutes ensures a clean and dry surface.
Spread the Thermal Paste
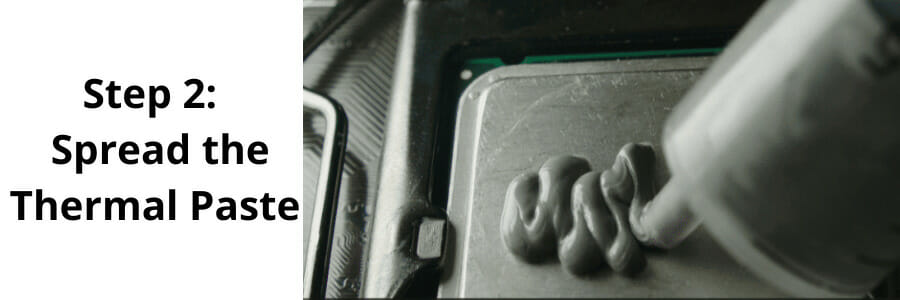
1. Optional Manual Spread: While many prefer to let the cooler do the work, you can use a plastic spreader or a clean credit card to distribute the thermal paste over the CPU surface if you want a more controlled spread. Spread gently to maintain an even, thin layer.
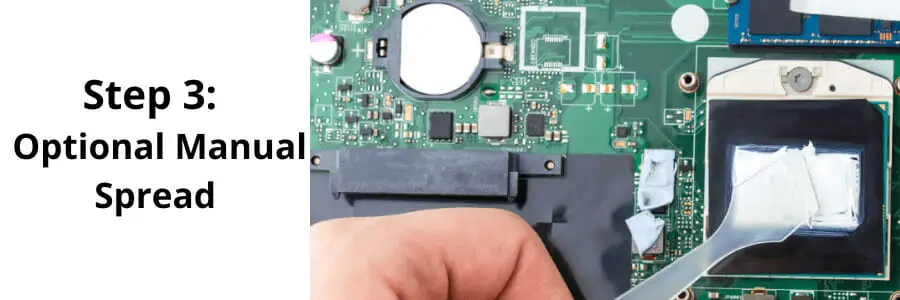
2. Check for Air Bubbles: As you spread, ensure no air pockets are forming in the paste. These can act as insulators, reducing the paste’s efficiency.
3. Consistency is Key: Aim for a smooth, even spread without gaps, ensuring the entire CPU surface will contact the heatsink.
Install the CPU Cooler
1. Align the Cooler: Before placing it down, ensure your CPU cooler is aligned with the mounting holes or brackets.
2. Gentle Placement: Carefully position the cooler onto the CPU. As you press down, the paste will spread further.
3. Secure the Cooler: Secure the CPU cooler in place using the appropriate screws or fasteners. Tighten screws in a cross pattern to ensure even pressure distribution.
4. Connect Fan (if applicable): If your cooler has a fan, connect it to the appropriate header on your motherboard.
5. Test Run: Once everything is securely in place, turning on your system and checking temperatures is a good practice. Ensure the cooler is working effectively and that the CPU temperatures remain in a safe range.
Note: Reapplying thermal paste and reseating a cooler can become necessary over time, so it’s beneficial to monitor CPU temperatures periodically.
Note: Always handle the CPU carefully, ensuring not to touch the pins or the bottom side to prevent potential damage.
How Much Thermal Paste on CPU: Interesting Facts and Most Common Errors
Fact: Not All Thermal Pastes are Alike:
- Various types of thermal pastes are available, such as ceramic-based, metal-based, and carbon-based. Each type has its own set of properties and thermal conductivities. For example, metal-based pastes typically offer superior heat transfer but can be conductive, posing a risk if they come into contact with other components.
Mistake: Assuming More is Better:
- One of the most prevalent misconceptions is that applying more thermal paste will lead to better cooling. Too much paste can trap heat instead of dissipating it, leading to higher temperatures. Excessive paste can ooze out and possibly short out nearby components if it’s conductive.
Fact: Aging of Thermal Paste:
- The efficiency of the thermal paste as a heat transmission medium might diminish or dry out over time. Check and possibly replace the paste every few years, especially if there’s a noticeable increase in CPU temperatures.
Mistake: Uneven Application:
- Another standard error is not spreading the thermal paste evenly. Uneven application can lead to hotspots on the CPU, where heat isn’t effectively transferred to the heatsink. While many rely on the pressure of the heatsink to spread the paste, ensuring an even initial application can be beneficial.
Fact: Importance of Surface Cleaning:
- The effectiveness of thermal paste isn’t just about the paste itself. Cleaning the CPU and heatsink surfaces ensures that the paste adheres appropriately. Even a thin layer of oil from fingerprints can impact the heat transfer.
Conclusion
Ensuring the correct quantity of thermal paste is pivotal to harnessing the best from your CPU. Adhering to these guidelines sets your CPU on a path to efficient cooling and peak performance. We welcome your thoughts, questions, or insights in the comments section.
If you believe this guide can benefit others, we’d appreciate sharing it with your circle. Those keen on elevating their PC’s prowess even further explore our selection of top-tier thermal paste offerings.

